先说下背景
之前已经实现了,Let's Encrypt 通配符证书,全站HTTPS
之前的地址如下:
之前误以为续约的方式只要执行下面这个命令就可以了
- ./certbot-auto renew --dry-run
结果实际情况是,一顿报错噼里啪啦,内容如下
- Cert is due for renewal, auto-renewing...
- Could not choose appropriate plugin: The manual plugin is not working; there may be problems with your existing configuration.
- The error was: PluginError('An authentication script must be provided with --manual-auth-hook when using the manual plugin non-interactively.',)
- Attempting to renew cert (tczmh.club) from /etc/letsencrypt/renewal/tczmh.club.conf produced an unexpected error: The manual plugin is not working; there may be problems with your existing configuration.
- The error was: PluginError('An authentication script must be provided with --manual-auth-hook when using the manual plugin non-interactively.',). Skipping.
- All renewal attempts failed. The following certs could not be renewed:
- /etc/letsencrypt/live/tczmh.club/fullchain.pem (failure)
重点是这句 'An authentication script must be provided with --manual-auth-hook when using the manual plugin non-interactively.'
后面大概研究了一下,报错的意思是 ./certbot-auto renew 必须搭配自动修改新的dns的脚本,这个脚本是要你自己根据自己域名解析商提供的接口来自己实现的。用 --manual-auth-hook 命令来执行脚本。如果说你刚好是php环境的nginx 搭配 阿里云提供的域名解析。那恭喜你可以找到现成的全自动的脚本,百度上很多例子。java环境 nginx tomcat 配其他域名商的情况,就比较苦逼了,目前我能力有限,还是只能手动来解决续约问题。
总而言之这篇博客简单复述一下,如何手动续约,其实就是和申请一模一样
正文开始
关闭 nginx & tomcat,释放一下80和443端口
- systemctl stop nginx
- ./tomcat/bin/shutdown.sh
重新申请一次证书 例如你申请的域名是baidu.com,那就要改成 -d "baidu.com" -d "*.baidu.com"
- ./certbot-auto certonly -d "你申请的域名" -d "*.你申请的域名" --manual --preferred-challenges dns-01 --server https://acme-v02.api.letsencrypt.org/directory
注意!如果第一次申请需要输入一次邮箱和输入几次我同意之类的,然后就要配置dns
配置dns方法不赘述了,参考上次博客
https://zzzmh.cn/single?id=36
这里发现一个坑是之前没有的,2个域名是要加2个dns的,注意看提示,2个都要加。
生成tomcat能认可的秘钥格式 注意替换你申请的域名
- cd /etc/letsencrypt/live/你申请的域名/
导出.p12格式的证书
- openssl pkcs12 -export -in fullchain.pem -inkey privkey.pem -out tczmh_letsencrypt.p12 -name tomcat_letsencrypt
.p12格式转换成.jks格式
- keytool -importkeystore -deststorepass '上一步输入的密码' -destkeypass '上一步输入的密码' -destkeystore tczmh_letsencrypt.jks -srckeystore tczmh_letsencrypt.p12 -srcstoretype PKCS12 -srcstorepass '上一步输入的密码' -alias tomcat_letsencrypt
如果只是续约,而且密码和路径没变的话,这一步可以跳过
- <Connector .....
- keystoreFile="/etc/letsencrypt/live/你申请的域名/tczmh_letsencrypt.jks" <!-- 这里必须填写上一步生成的tczmh_letsencrypt.jks的全路径 -->
- keystorePass="上一步输入的密码" <!-- 这里必须填写上一步输入的密码 -->
启动tomcat & nginx
- ./tomcat/bin/startup.sh
- systemctl start nginx
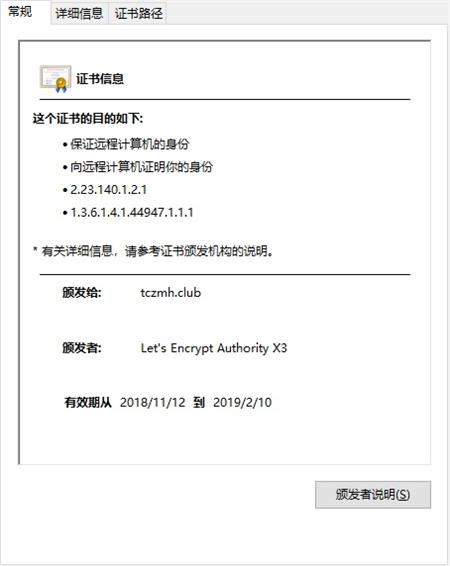
最终效果 大功告成
目前就是这样,万一我研究出了用脚本自动更新,而且支持我的java环境和腾讯云域名的方法的话,我再更新。


 沪公网安备31010602005070号